Tuesday, February 25, 2014

Intro to Blender - Extruding & Box Modeling

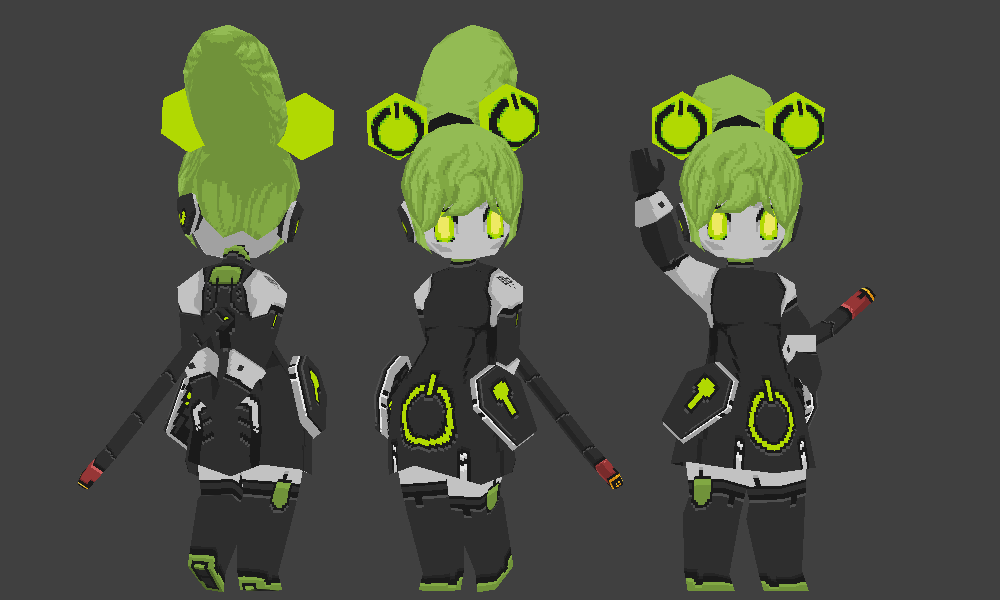
 Now that we've had a basic introduction to Blender, for or these next two classes you have the option to work at what level you feel most comfortable. These 4 videos are in order of difficulty, with the first being a review of how to move around in Blender. If you feel like you need a review, you can start with The first. The second (3) is similar to what we did with the cup, but a little easier, if you'd like to work at that level again, though the third (5) is also quite easy. If you finish the third video, turn in your dinosaur and begin the last video. These videos all lead up to being able to use this kind of workflow, pictured below:

You should turn in one or two of these three things:
  • the snowman
  • the box dinosaur
  • At least the first half of the head


Monday, February 24, 2014

Intro to Blender 2: Organic versus Geometrical


One of the reasons people like to use Blender is to make simple objects, which would be a huge pain to make in a program like Sculptris. I'll show you in class how to make a simple chair within about 2 minutes, and then I'll have you work through this tutorial.
  • Please email your tile to me at the end of the period.

Thursday, February 20, 2014

Intro to Blender


Now that you've had some time to explore Sculptris, you've been able to understand some of its strengths and shortcomings! The next program we have to look at is called Blender, and it's a good counterpart to Sculptris: it's high and low points are sort of opposite to those of Sculptris.


This tutorial will introduce you to the basic blender commands in context. Some of the commands are obsolete, such as double-tapping B for box select paint, or clicking K to loop cut. Here is a quick lookup list that you can refer to whenever you need:

  • Navigation:
    • Mouse Wheel click and hold - move
    • Shift + Mouse Wheel click and hold - strafe 
    • Mouse Wheel scroll - zoom 
    • Numpad 1 - front view
    • Numpad 3 - side view
    • Numpad 5 - perspective toggle
    • Left Mouse - select (reset move with G)
    • Right Mouse - move cursor (confirm move with G)
  • Commands:
    • G - grab
    • A - select all/ deselect all
    • B - box select
    • Z - transparency toggle
    • S - size
    • R - rotate
    • K - knife
    • Ctrl + R - loop cut and slide
    • E - extrude
    • X - delete
  • Search - Spacebar
  • Menu Options:
    • Left Mouse click at top of viewing window - split area
    • Add - add a new polygon

Tuesday, February 11, 2014

Making a Turnaround


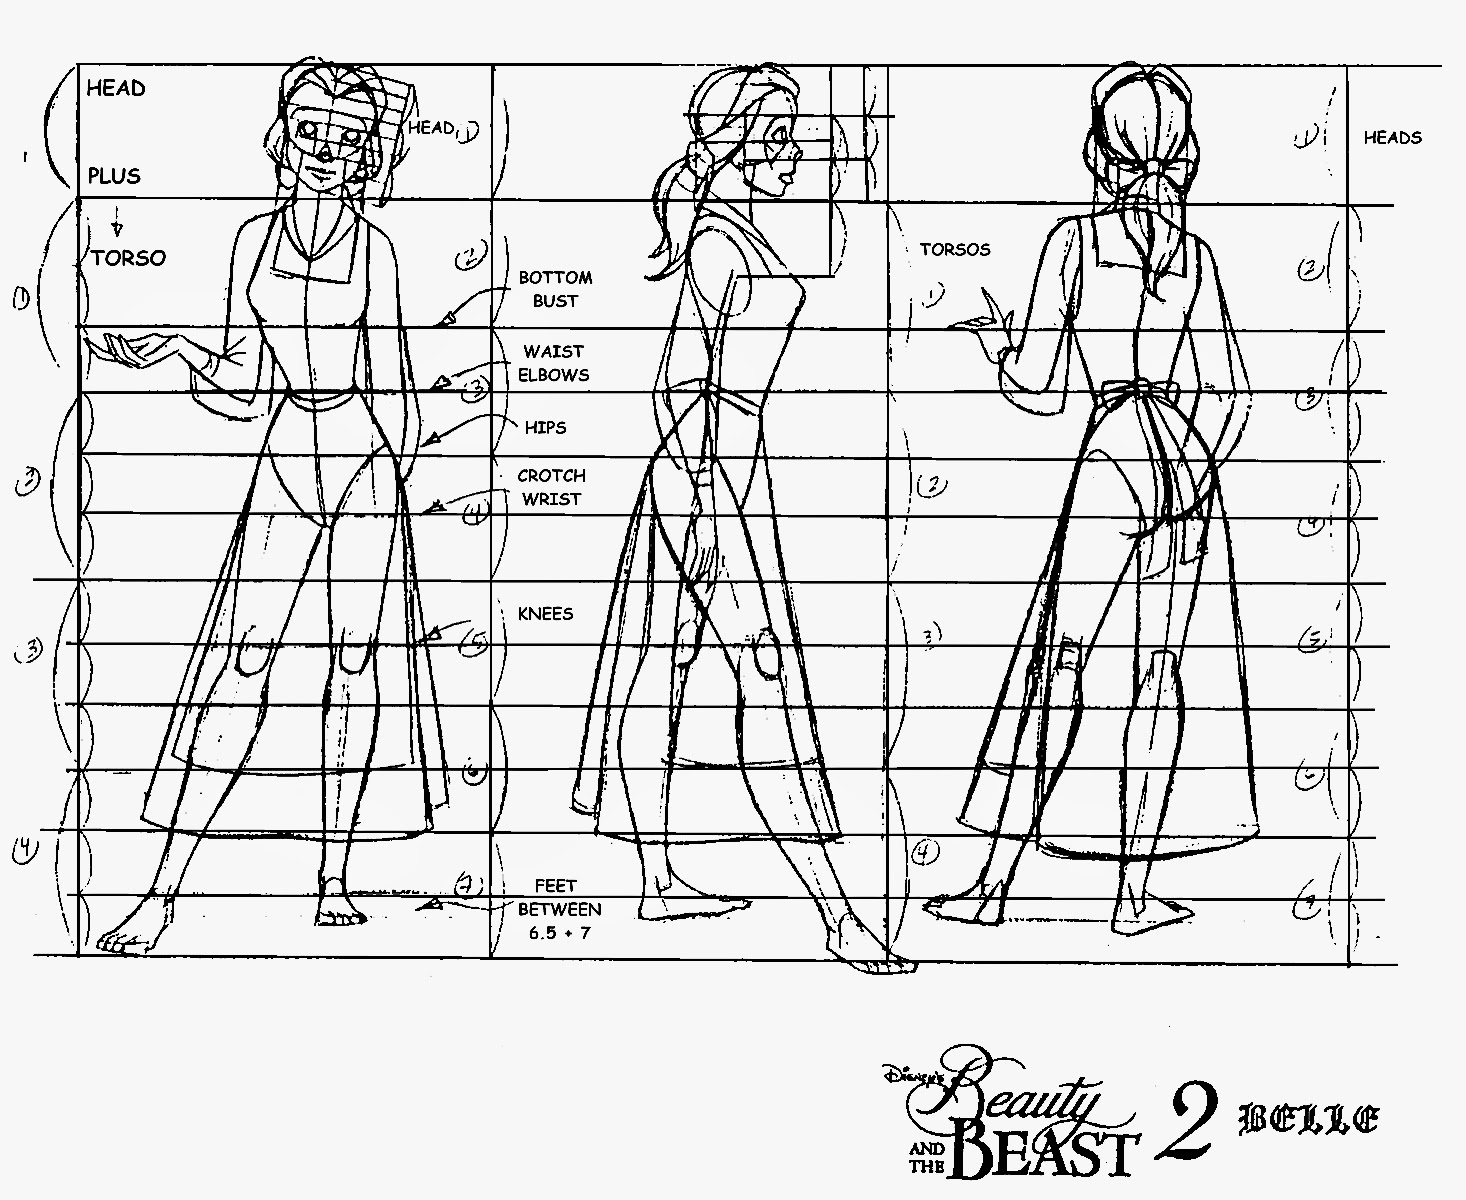
Today we're going to talk about what a turnaround is. Turnarounds are essentially front-and-side reference drawings for making 3D models.

One of the most important things about turnarounds is that all of the features line up between the two drawings. We will look at making one of these in both Sculptris and Blender -- before moving on to the new program next week, however, let's  watch this tutorial about making one in Sculptris:


Assignment:
  • Watch this video. If you haven't finished the video from yesterday, please finish it first.
  • Find or draw a turnaround to use in Sculptris for tomorrow. 
    • Make sure the front and side image line up.
    • The lines need to be clean, not sketchy. You'll find out why if you don;t pay attention to this instruction :3
    • KEEP IT SIMPLE. :D


Later I'll give you two tutorials about how to build quick 3D models in Blender using a turnaround:
Other example turnarounds:

Monday, February 10, 2014

Intro to 3D Modeling with Sculptris

Today we're going to start looking at how to do 3D modeling. I'm going to start you off using an easier program called Sculptris. Sculptris is free to download, so you can use your laptop if you like! You will not need your tablets for this unit, however, you may need a 3 button mouse.Welcome back! I hope you had a relaxing vacation!


The first thing you need to understand about how modeling works is that models are composed of polygons. You may remember from geometry that 2 points make a line and 3 points make a plane. You can see in the image below how this works:


  1. Your models are going to have surfaces composed of squares and triangles, referred to as polys:
    • The more complex the surface, the higher the number of polygons.
    • This is called the polygon count, or polycount.
  2. Poly count pertains directly to the amount of time your file will need to load. You might know of an anecdote from Monster's University about the load time for each frame with Sully in it, because of Sully's poly count due to his fur.
    • The less polygons you have in each scene or file, the less work the computer has to do.
    • The polygon count is often referred to as:
      • Low Poly
      • High Poly


Today, I'm going to have you open Sculptris and follow this beginning tutorial. You can stop at anytime and ask me if something doesn't make sense, but you should probably have 10-20 minutes at the end of class to create something. 

  1. Assignment:

  • Make a practice model, showing that you've used several tools.

  • Save it as an .obj file.

  • Turn it into me via email.