http://www.ctrlpaint.com/
http://vimeo.com/ctrlpaint/videos
Wednesday, June 11, 2014

Monday, April 14, 2014
Final Assignment
For the last quarter of school, we're going to do independent studies. I will work with each of you to help put together a schedule, if you need me to. This is your opportunity to take one of the things we already looked at in class and explore it more.

Chose what your project or projects will be. You can work in your medium of choice, on your subject of choice. Some possible options:
- digital painting
- animation
- digital illustration
- logo design
- 3D
- etc!
In this light, please fill out these questions and send them to me by email:
- What type of digital art will you work in?
- What will your project be?
- What will you turn in to show progress?
- What will your final product be?
Lastly, on your calendar, fill in your decisions and show me in person.
Monday, March 24, 2014
Intro to Flash!
For Flash MX:
Actionscript 3 ----> Start New Flash Animation
Pasteboard ----> Workspace
For your first assignment, what you need to do is:
- On one layer, make a notched 'flight path' arc for an object of your choice, so that its movement will be smooth.
- On a separate layer, draw your object.
- Your object should deform appropriately as it reaches the various notches of its arc.
- Your object needs to have something dragging behind it: hair, a tail, a string ... whatever!
A point of clarification: when Harry starts talking about 'breakdowns,' he is simply referring to the first step taken when making in-betweens between keys. The breakdown is essentially the 'exact middle' in-between. Harry will address this in the next video a little, so don't fret:
For your second assignment, what you need to do is:
- Make a character take.
- Begin with at least 4 roughs.
- Clean up your roughs on a separate layer.
- Make more in-betweens, for a total of 16-20 frames.
- At this point, pick a primary motion point -- the head, shoulders, or whatever you choose.
- One a separate layer, mark this point with notches.
- Trace a movement arc through the notches and make sure the movement is both well-timed and following a smooth path. Adjust your frames as necessary to clean up this motion arc.
- Your path should look clean and curved, not bumpy or wiggly.
- Lastly, color in your animation! Colors may be on a separate layer if necessary!
------------------------------------------------------------------------------------------------------------
Final Assignment: Add a sound and a motion tween background to your animation!
Sounds can be found on a site like this.
Monday, March 3, 2014
Introduction to Inkscape
This week you need to turn in a paragraph written about the painting we'll be printing for the March 19th exhibition. You should aim for 10 sentences or so -- topics that you might like to consider are:
- What are your thoughts about the content of your painting? Why did you make the image what it is?
- Did you have any particular idea, meaning, or message you were trying to put into the image?
- What was the process that you went through to make this piece?
- What did you like or dislike about the process of making this? What was interesting to find out, or frustrating to do?
- What do you think the audience should know or might be curious about?
- Anything else you'd like to say.
- When you get to this video, you can make your first assignment: a logo for a company. You can follow the tutorial exactly, or make your own company & logo.
- For this assignment, make a sketch or a drawing on paper or in SAI, and then 'ink' the lines in Inkscape.
- It could be an older piece of work, if you like.
- You could even find an image that you like online, if you don't want to make your own drawing.
- Go on to color it in and complete it, as is done in this tutorial.
- Your third assignment is to follow this tutorial, which goes more in-depth into the functionality and speed of working in a vector program. Good luck! :D
Tuesday, February 25, 2014
Intro to Blender - Extruding & Box Modeling
Now that we've had a basic introduction to Blender, for or these next two classes you have the option to work at what level you feel most comfortable. These 4 videos are in order of difficulty, with the first being a review of how to move around in Blender. If you feel like you need a review, you can start with The first. The second (3) is similar to what we did with the cup, but a little easier, if you'd like to work at that level again, though the third (5) is also quite easy. If you finish the third video, turn in your dinosaur and begin the last video. These videos all lead up to being able to use this kind of workflow, pictured below:

You should turn in one or two of these three things:
- the snowman
- the box dinosaur
- At least the first half of the head
Monday, February 24, 2014
Intro to Blender 2: Organic versus Geometrical
One of the reasons people like to use Blender is to make simple objects, which would be a huge pain to make in a program like Sculptris. I'll show you in class how to make a simple chair within about 2 minutes, and then I'll have you work through this tutorial.
- Please email your tile to me at the end of the period.
Thursday, February 20, 2014
Intro to Blender

Now that you've had some time to explore Sculptris, you've been able to understand some of its strengths and shortcomings! The next program we have to look at is called Blender, and it's a good counterpart to Sculptris: it's high and low points are sort of opposite to those of Sculptris.
This tutorial will introduce you to the basic blender commands in context. Some of the commands are obsolete, such as double-tapping B for box select paint, or clicking K to loop cut. Here is a quick lookup list that you can refer to whenever you need:
- Navigation:
- Mouse Wheel click and hold - move
- Shift + Mouse Wheel click and hold - strafe
- Mouse Wheel scroll - zoom
- Numpad 1 - front view
- Numpad 3 - side view
- Numpad 5 - perspective toggle
- Left Mouse - select (reset move with G)
- Right Mouse - move cursor (confirm move with G)
- Commands:
- G - grab
- A - select all/ deselect all
- B - box select
- Z - transparency toggle
- S - size
- R - rotate
- K - knife
- Ctrl + R - loop cut and slide
- E - extrude
- X - delete
- Search - Spacebar
- Menu Options:
- Left Mouse click at top of viewing window - split area
- Add - add a new polygon
Tuesday, February 11, 2014
Making a Turnaround

One of the most important things about turnarounds is that all of the features line up between the two drawings. We will look at making one of these in both Sculptris and Blender -- before moving on to the new program next week, however, let's watch this tutorial about making one in Sculptris:
Assignment:
- Watch this video. If you haven't finished the video from yesterday, please finish it first.
- Find or draw a turnaround to use in Sculptris for tomorrow.
- Make sure the front and side image line up.
- The lines need to be clean, not sketchy. You'll find out why if you don;t pay attention to this instruction :3
- KEEP IT SIMPLE. :D
Later I'll give you two tutorials about how to build quick 3D models in Blender using a turnaround:
- Juliette from Gnomeo (Reversed)


Monday, February 10, 2014
Intro to 3D Modeling with Sculptris
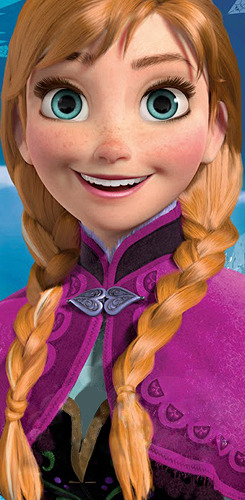
Today we're going to start looking at how to do 3D modeling. I'm going to start you off using an easier program called Sculptris. Sculptris is free to download, so you can use your laptop if you like! You will not need your tablets for this unit, however, you may need a 3 button mouse.Welcome back! I hope you had a relaxing vacation!
The first thing you need to understand about how modeling works is that models are composed of polygons. You may remember from geometry that 2 points make a line and 3 points make a plane. You can see in the image below how this works:

- Your models are going to have surfaces composed of squares and triangles, referred to as polys:
- The more complex the surface, the higher the number of polygons.
- This is called the polygon count, or polycount.
- Poly count pertains directly to the amount of time your file will need to load. You might know of an anecdote from Monster's University about the load time for each frame with Sully in it, because of Sully's poly count due to his fur.
- The less polygons you have in each scene or file, the less work the computer has to do.
- The polygon count is often referred to as:
- Low Poly
- High Poly


Today, I'm going to have you open Sculptris and follow this beginning tutorial. You can stop at anytime and ask me if something doesn't make sense, but you should probably have 10-20 minutes at the end of class to create something.
- Assignment:
Make a practice model, showing that you've used several tools.
Save it as an .obj file.
Turn it into me via email.
Thursday, December 26, 2013
Digital Painting - Poster Critique

Today, please work for 80 minutes, then:
- post your work to Deviantart
- look at the work turned in by other students
- finish 4 critiques and email them to me -- I will forward it to each person anonymously
- critiques should be in the 2 stars and a wish format -- something like: "I liked ..... and ......, and I wish you would ......"
- Szu Yu - http://szuyu1790.deviantart.
com/ - Kimberly - http://khayshee.deviantart.
com/ - Tiffany - http://pinkytiffy.
deviantart.com/ - Jessica - http://queenjessicathe1st.
deviantart.com/ - Paula - http://solardancer123.
deviantart.com/
Monday, December 16, 2013
Special Lighting Effects
Even though this is done with real paints, take a look at how the painter in this video approaches putting white into his painting to add light. Watch from about 2:00 to 3:50.
What you should look for:
- How much lighting is applied to the underlying color?
- How does he make the wet watermelon look extra shiny?
Thursday, December 5, 2013
Poster - Completion Dates

This schedule should give us time to finish our projects before December ends. Percentages of completion can be shown as:
20% - Sketch & Composition - Finished 11/2920% - Values (Shadows) - Finished 12/620% - Colors - Finished on - Finished 12/13- 20% - Lighting Effects - Finished 12/20
- 20% - Refinement - Finished 12/27
- 100% - Total
Currently, I expect your poster to be roughly 40% done today. That means that your sketch should be finished and your second step (whether shadows or colors) should be nearing completion - say 75% at least.
By the end of December, we can look into printing our posters and return to animation.
Monday, December 2, 2013


Tuesday, November 19, 2013
Painting for a Poster

For the next two days, I'll give you time to continue working on your sketch or to begin adding shadows.
- On Thursday, you'll turn in a progress check image.
This speedpaint video shows a process that lets you keep your lines while still having a painterly look:
Monday, November 11, 2013
Finishing the Sketch - Before Painting
So, what is the big difference between painting and drawing? Addressing this question, we'll be taking a look at the necessary ideas to make your sketch cross the gap from drawing into becoming a full painting.

For this week, here's your assignment:
For this week, here's your assignment:
- Please continue to work on your sketch.
- When your sketch is finished, analyze it with a triangle and an X. This needs to be turned in to me or posted.
- Watch these videos before beginning your painting:
- using reference: http://ctrlpaint.com/videos/how-to-draw-anything-in-3-steps
- what is value/form? http://ctrlpaint.com/videos/form-value-and-light
- cleaning up your sketch for painting: http://ctrlpaint.com/videos/sketching-lines
- painting with value: http://ctrlpaint.com/videos/sketching-value
- If you are finished with all of these steps early (and this step is critical) make sure that the aspect ratio of your sketch is correct for printing.
- Decide on a paper size A3 or larger (A3, B3, A2, B2, A1, B1, A0, or B0) and make certain your sketch conforms to the correct paper at DOUBLE SIZE.
- http://en.wikipedia.org/wiki/Paper_size (pictures of sizes)
- http://www.prepressure.com/library/paper-size (actual list of dimensions)
- This means that if you want to print on A3 paper you need a 594 mm x 840 mm canvas, not 297 x 420.
- Also, consider that when printing you will probably need a border for the edge of your paper where white will remain.
- If you finish all of these things, you may begin working on your own studio work.
- If I don't get a chance to look at your work from studio day(s), I may ask you to turn it in to me. Thanks! :2
Wednesday, November 6, 2013
Compositional Balance
Introduction: http://ctrlpaint.com/videos/principles-of-design-introduction
Balance - http://ctrlpaint.com/videos/principles-of-design-balance
Orcs - http://ctrlpaint.com/s/ctrlPaint_orcs_02.PSD
Assignment: Begin a sketch -or- arrange some orcs in a compositionally-balanced piece of work at your proposed poster size.
Balance - http://ctrlpaint.com/videos/principles-of-design-balance
Orcs - http://ctrlpaint.com/s/ctrlPaint_orcs_02.PSD
Assignment: Begin a sketch -or- arrange some orcs in a compositionally-balanced piece of work at your proposed poster size.
Monday, November 4, 2013
Assignment: Printing a Digital Painting
For printing, you'll need to choose a paper size that you'll be happy with. I'd recommend A3, B3, or A2.
Please begin to consider what you'd like the subject or theme of your painting to be for when we meet tomorrow. The requirements of this assignment will be:
- Make sure your painting is in the correct dimension for the size at which you'd like to print
- Consider your DPI (probably 300+ is best)
- Consider how much of a border you will need.
- Please work at double-size, so that your poster can be compressed if necessary, or printed at a larger size.
- Consider, as you begin your sketch, the composition of your painting
- Since you will be printing it as a poster, the compositional layout will be one of the most important graphic qualities for your viewers.
- This assignment is tentatively due December 13.


Monday, October 28, 2013
Principle 2: Anticipation
Now that we've had a good chance to practice Squash and Stretch, let's look an idea that works together:
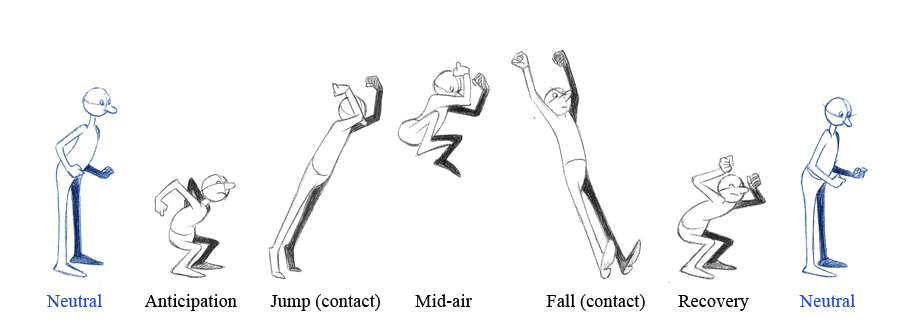 You may be familiar with the idea from science that all action requires an equal and opposite reaction:

Watch for what happens before the actual slow-motion jump:
Anticipation!
Anticipation is a very similar idea - a character is going to get ready for an action with a little bit of preparation. A good example of this is the sneeze - a lot of facial wiggling and head movement happens before the explosion:
How does this guy's face prepare to get hit by a water balloon?
How does this player move to prepare to hit the ball?
How does Jessica prepare to react to the news - "30 minutes???"
Assignment:
Today and tomorrow, please make an animation of your choice that:
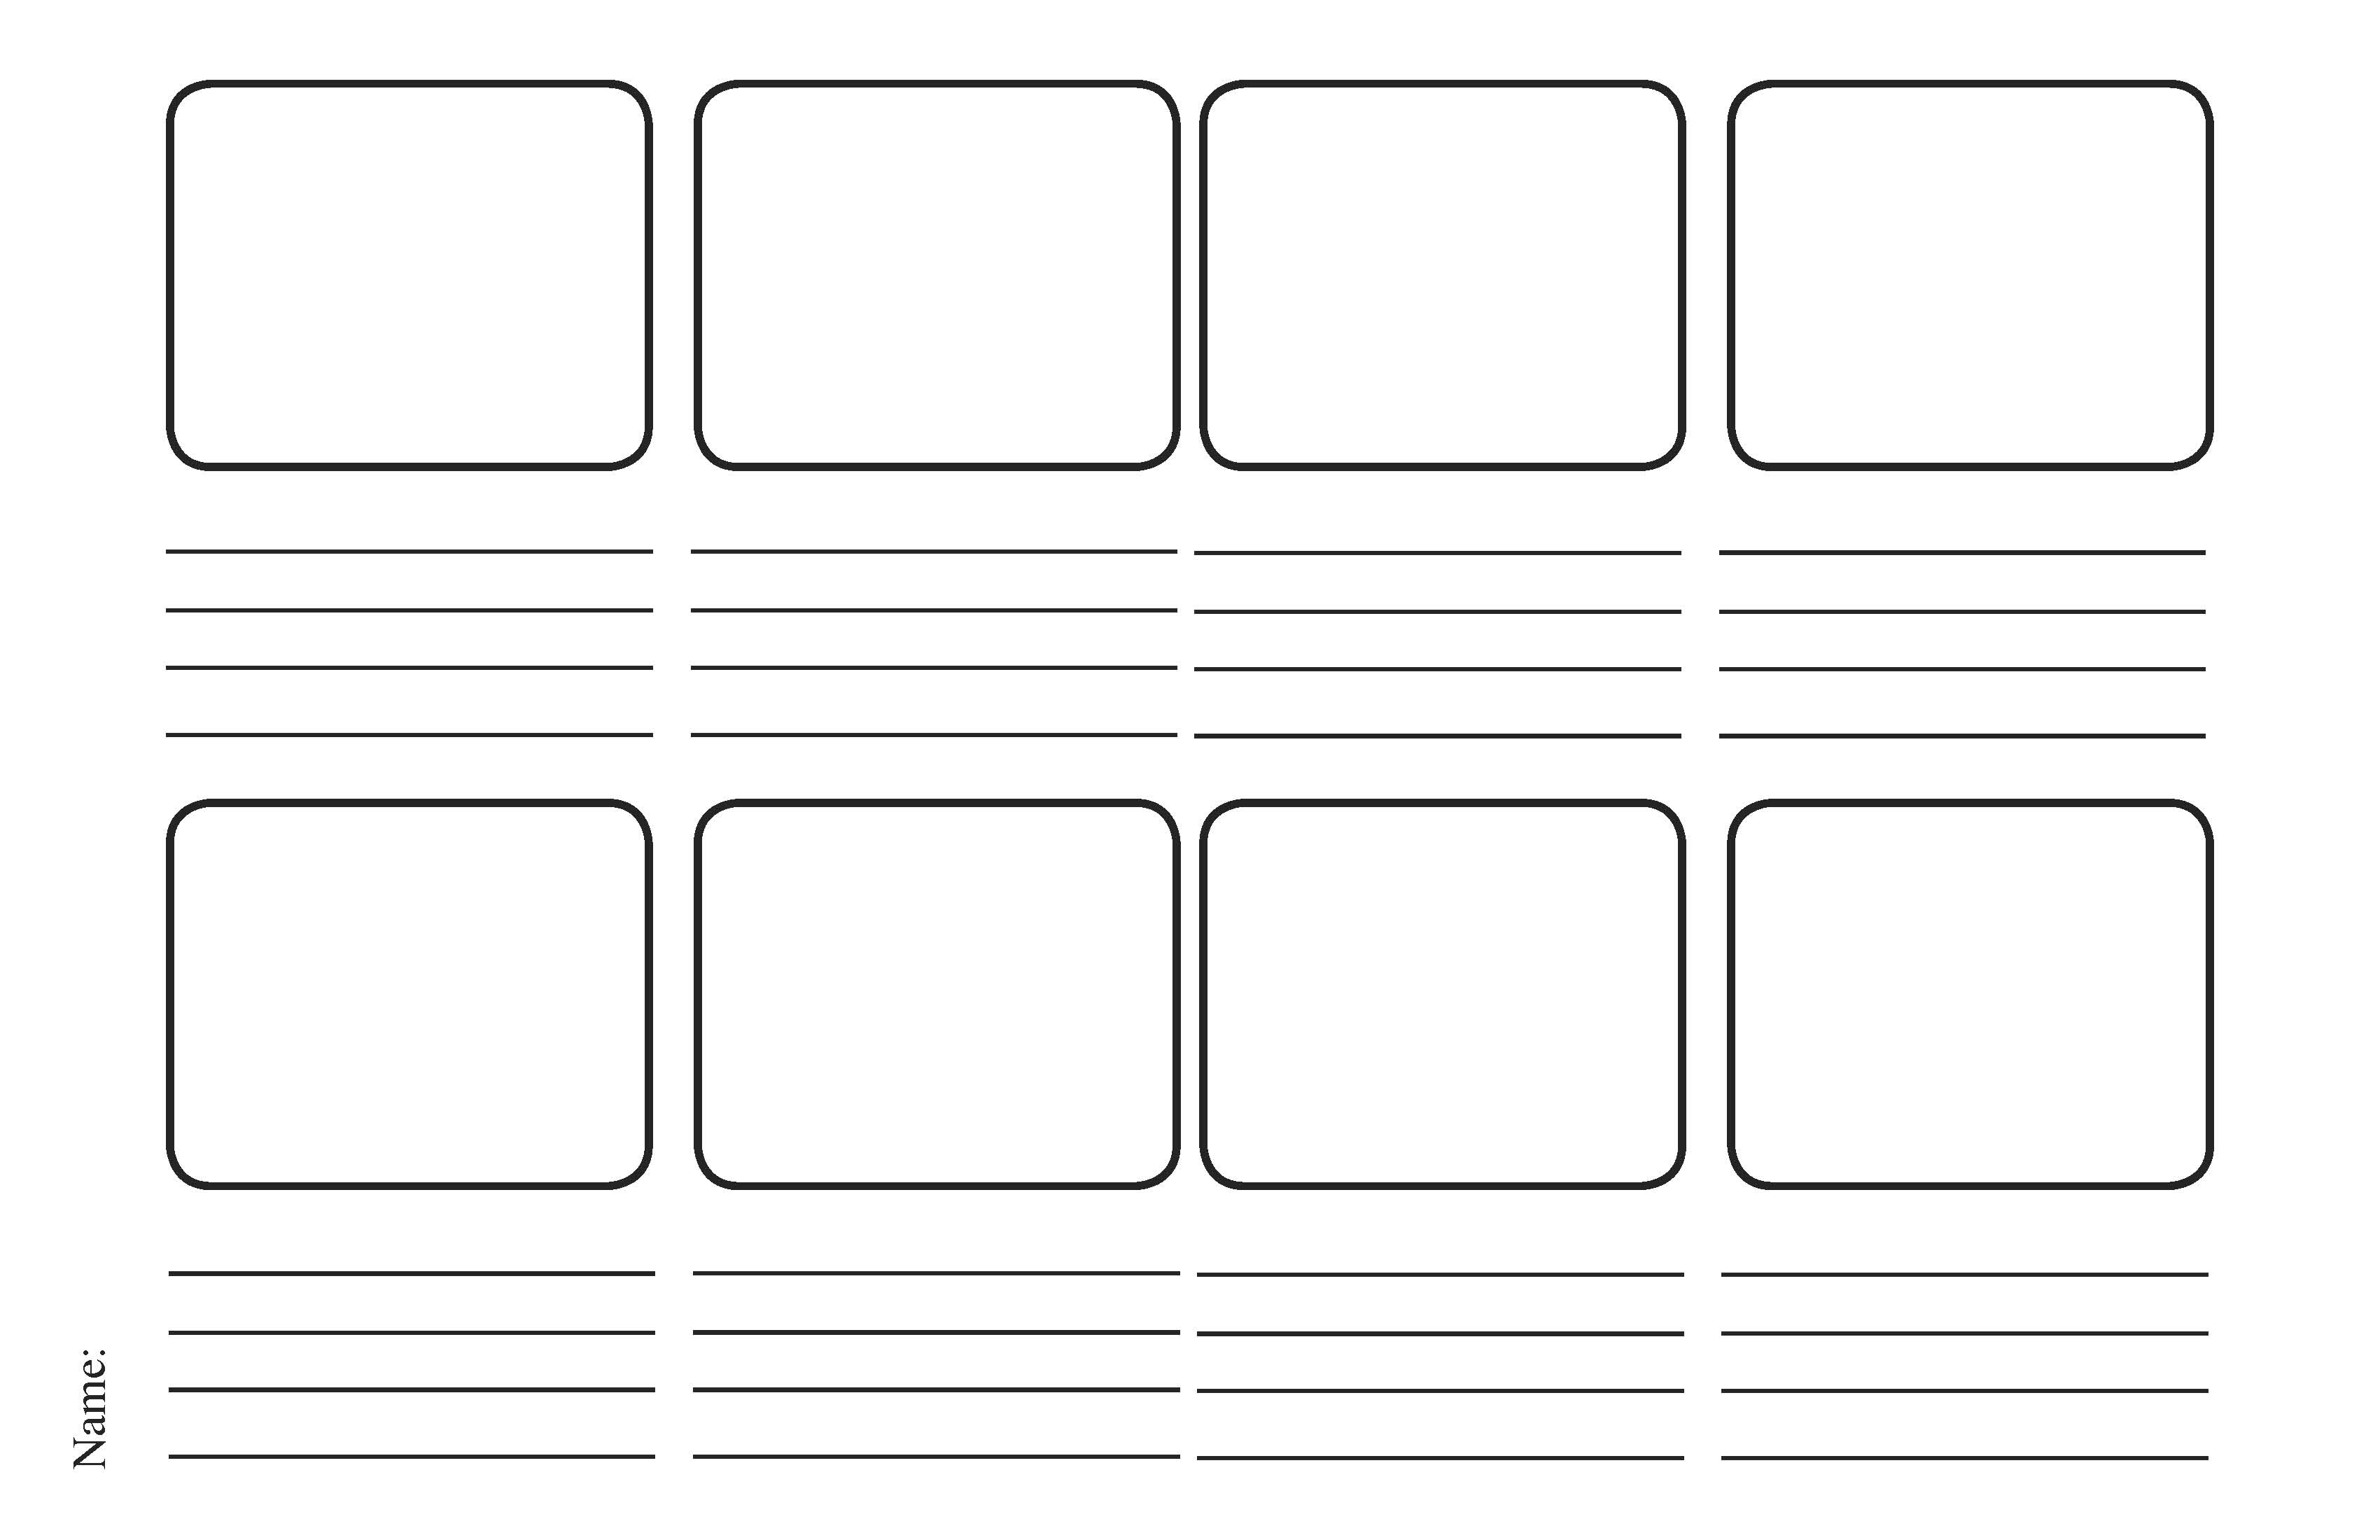
- is planned with a storyboard.
- reaches at least 50 frames for 5 seconds in Easytoon.
- shows both squash and stretch and anticipation.
Day 1:
- Plan a storyboard of 8 keyframes.
- Turn this in as a drawing.
- Begin to tween your keyframes.
Day 2:
- Finish inbetweening your animation.
Thursday, October 24, 2013
Paint Mixing with Brushes
Please watch these 4 videos (2 are review and optional)
- Lesson 1: Introduction to commands
- Lesson 2: Brushes
- Lesson 3: Paint Mixing
- Lesson 4: Layers

Assignment:
- Complete the assignment mentioned in lesson 3 and email it to me.
- Use the rest of your time to work on a piece for your choice, for studio time.
- turn this in to DeviantArt as usual.
- Have a nice day!
Grading Policy Review
Let's refresh ourselves on the grading policy. Now that we have covered a lot of the basic skills to use SAI, Grades will be determined in this way, beginning today:
Assignment Completion
|
Assignment Quality
|
Attendance
| |
Complete
100%
|
|
|
|
Partial
50%
|
|
|
|
Incomplete
0%
|
|
|
|
Total:
|
Subscribe to:
Posts (Atom)